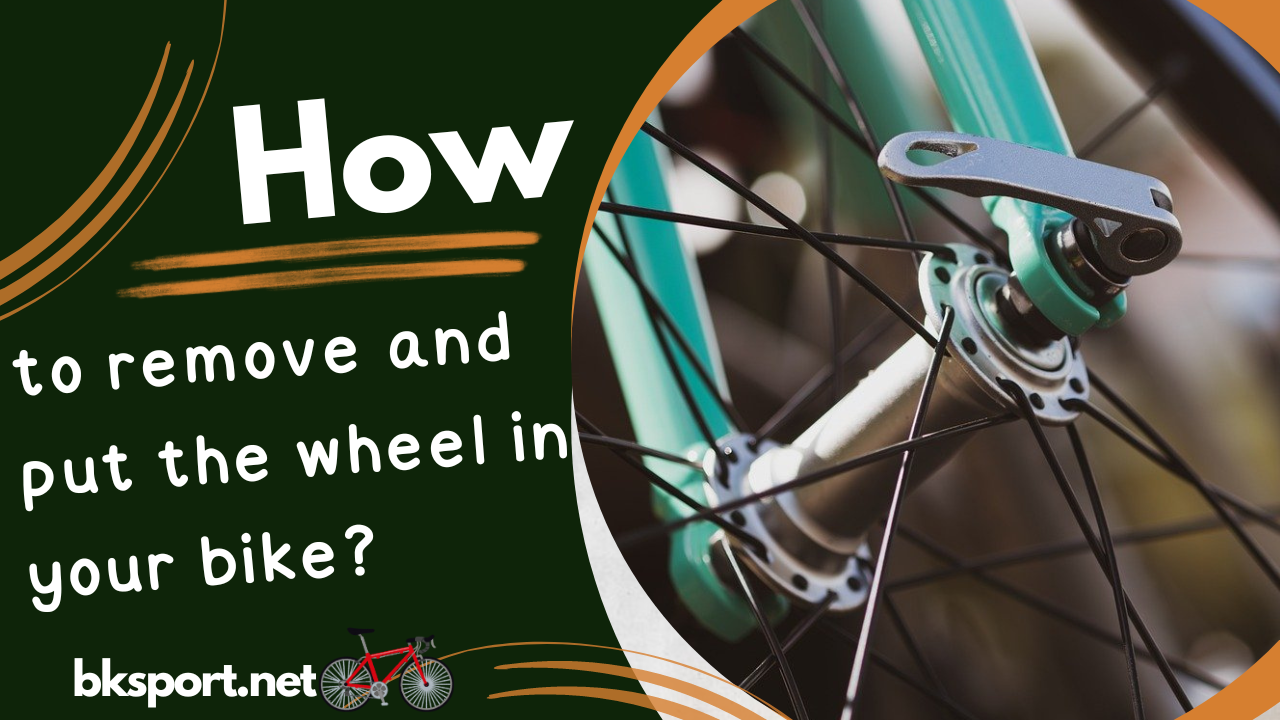
On an e-bike, how do you take off, put on, and replace a wheel? Front or back? To a seasoned rider, it appears like an absurd question. However, keep in mind that there are novice bikers as well as seasoned ones.
It looks easy enough: just loosen the clamping nuts on the wheel axle, or quick-release eccentric in general, and you're done. However, there are numerous details; let us examine them.
Two courses of action
Two techniques can be distinguished for removing and installing a bicycle wheel:
1. Emergency removal and reinstallation without complete disassembly.
It is used to replace or repair bicycle tires and tubes that have been damaged (punctured, cut). In this instance, the brake rotor of the disk brakes, the cassette, and the ratchet are all attached assemblies and parts that stay on the wheel of your e-bike during the repair process.
2. Removal and installation with complete disassembly.
Used when you need to send your e-bike wheel for storage in a garage or storage room, repair or replace the wheel rim, or replace all or some of the spokes on the wheel. In this situation, you should disassemble the bike's front and back wheels, taking off the tire, tube, brake rotor, and cassette (ratchet).
One could classify this as a partial disassembly. And all spokes and wheel hub will need to be fully disassembled in the event of a major repair. which is going to be regarded as a total dismantling. It is required to reassemble the wheel with all assemblies and parts attached before mounting such a disassembled wheel.
General procedure for removing the bike wheel
1. Setting the bike up in a stable position is the first step. It can be fixed in a rack, hung from hooks, or just leaned against a wall. However, turning it 180 degrees, or "upside down," and setting it on the handlebars and seat is the simplest and most practical method.
2. If necessary, remove the chain from the back wheel's idler sprocket (cassette, ratchet).
3. To attach the bicycle wheel to the drop-out of the front or rear forks, loosen the clamping nuts on the hub axle (front). Instead of fully unscrewing them, loosen them up till the wheel hub axle can freely travel between the dropouts' grooves. You just need to release (unclamp) the eccentric if the wheel hub axle mounting is quick-release.
4. Remove the wheel from the bike with caution, taking care to separate it from the brakes, rear derailleur, Bowden spacelander, and power cables, among other components and assemblies.
General procedure for installing a bicycle wheel
1. Position the bicycle so that it is steady.
2. Install all pieces of the brake system and transmission that can be attached to the wheel, assuming they haven't been taken apart. It is necessary to remove the clamping bolts from the wheel hub axle (eccentric unclamped).
3. Bring the wheel hub axle of the back wheel to the feather dropouts. Attach the chain to the sprocket (ratchet, cassette).
4. Insert the wheel hub axle into the dropouts' grooves with caution. Verify the position of the braking and transmission bike parts.
5. Adjust the eccentric clamping nuts to the drop-outs in advance.
6. Check that the bicycle wheel is aligned after unwinding it. The tire should not rub on the rear frame feathers or the legs of the front fork; instead, it should be spaced equally apart. If required, retighten the eccentric fasteners and modify the wheel's placement within the dropouts.
7. Tighten the clamping nuts (eccentric) to the dropouts.
Special features for removing and installing bicycle wheels
The way in which bicycle wheels are removed and fitted depends on how the bicycle's transmission and brake systems are made. It is typically more difficult to remove and reinstall the drive rear wheel than the front wheel because only the drive rear wheel interacts with the bicycle transmission. Before being put on the bicycle, the rear wheel of your bicycle needs to be assembled with all of its pieces, including the brake rotor and cassette or ratchet.
1. The brake lever attachment to the right rear dropout (typically a bolt and nut) needs to be disengaged when removing the rear wheel on bicycles with single-speed single-speed hubs or multi-speed planetary hubs with drum-type brakes. Reinstalling the rear wheel necessitates screwing the brake lever back into its mount.
2. In the event of a multi-speed planetary hub, disconnect the cable that controls the gear shift when removing the rear wheel and rejoin it when reinstalling it.
3. Remove the wheel from (into) the brake shoes by unhooking it and using your hands to unclamp it if both the front and rear wheels have rim brakes (also known as bicycle brakes or pincer brakes).
4. When using disc brakes on both the front and rear wheels, it's important to carefully remove the brake rotor from between the brake shoes in the calliper braking mechanism and replace it in line with the removal of the wheel axle hub from dropouts. To prevent the brake rotor from being bent, the wheel needs to be removed with extreme caution.
5. If it's an E-bike motor-wheel, you have to detach (or reconnect) the power wires from the battery in order to remove (install) it. If not, the motorized wheel needs to be taken off and put back on using the same procedures and guidelines as a regular bike wheel.